31 Jul 2011

So I decided to try my hand...

I have started to write down my patterns for knitters across the globe to have a look at. My patterns are scrawled in a notepad which only I can understand - seriously, I don't even know how I manage to read them myself, never mind anyone else. I have decrypted my code and have the first one to post here. I will link it to ravelry as well and see how things go down.
This one has not been tested yet so if you do decide to make it and have any problems, please contact me so I can explain and alter the pattern accordingly :)


I Predict A Riot:

I love this block pattern and as the yarn is called "Riot" and knits up into a definite riot of colours, I took the name from a Kaiser Chiefs song I love.

Materials needed:
1 skein King Cole Riot DK in Magic 404
Needles:
1 Size 4.5mm circular needle
1 Size 4.5mm double pointed needles
Use the needle size best suited to give you the gauge listed below.
1 stitch marker
1 yarn needle
Gauge:
24sts / 26 rows = 4 inches

Materials at the ready? Let’s get started
Cast on 100 stitches on to the circular needle. Place a stitch marker and join in the round.
Knit in a 1 x 1 Rib (K1, P1, repeat) until work measures 1.5 inches.
Row 1: *yo, k2, pass yo* repeat to end
Row 2: Knit
Rows 1 & 2 make the pattern. Continue repeating these rows until work measures 4.5 inches in total, ending with row 2.
Decreasing for the crown:
Row 1: *yo, k2, pass yo* rep to end
Row 2: *K8, K2tog* rep to end
Row 3: as row 1
Row 4: *K7, K2tog* rep to end
Row 5: as row 1
Row 6: *K6, K2tog* rep to end
Continue this way until you have completed row 16 which should be *K1, K2tog* rep to end.
Break yarn and draw through the remaining 20 sts. Pull tight and weave in the loose ends.

[Small Print: Your use of this pattern constitutes your agreement to use this pattern only for personal, non-profit use without specific written permission from the designer. Items made from this pattern may not be sold, nor may the pattern itself be copied, sold, or distributed in any way. Thanks :)    ]


Download the .pdf: Click Here

28 Jul 2011

Hooray for Tinterwebs!

I am finally back! It's taken so long to get my internet back on in my new house. They kept me waiting a long time and I was pulling my hair out. Trying to surf the net on a mobile phone is not great fun!
So, in the mean time I've done some new projects:


A lovely open front cardigan in black:


Bit slap hazard with the photos there but hopefully you get the jist :)Unfortunately my mannequin looks terrible in this as it is made for a slight and slender woman, not someone with huge boobs like her. I'm getting my friend (who has the perfect model figure) to pose for me over the next few weeks. It looks stunning on her.

Next is a gorgeous new hat.

   
I love the colour of this hat. It's sunshine orange and really brightens up the gloomiest days. I will be writting out this pattern asap :)Finally I made a very fine shrug with a silver lace weight wool:


This was such a hard yarn to knit with. It was as thin as cotton. Tricky but worth it.


24 Jun 2011

Ok I Know I'm Not Meant To Be Blogging But...

I saw this on another knitting blog and was blown away!!


Want One!!
Here is the link to the original site so you can read all about it but basically; "The Wool Ball Charger is an ultra long charging cable disguised as a ball of yarn. You get the length when you need it all in a tight little and dare I say… cute package."

Ok...now I'm going :)

20 Jun 2011

No Blogging for a bit

I'm in a tiz!
I move house in exactly 5 days and I have one box of DVD's packed, that's it!
I am busy busy busy so I won't be taking any time to blog for a little bit.
I just get followers too :(
I promise I will be back to spin some yarns and put some house moving news up. Pictures of the new abode etc.
I think I'll take some pictures of the ex abode so you can see how nice we have it since the move :)
As for now, I will say ta tar! (in a very British accent) and be back soon, I promise. I already know what tutorial I'm putting up when I get back :)

15 Jun 2011

Gorgeous Knitting Designs

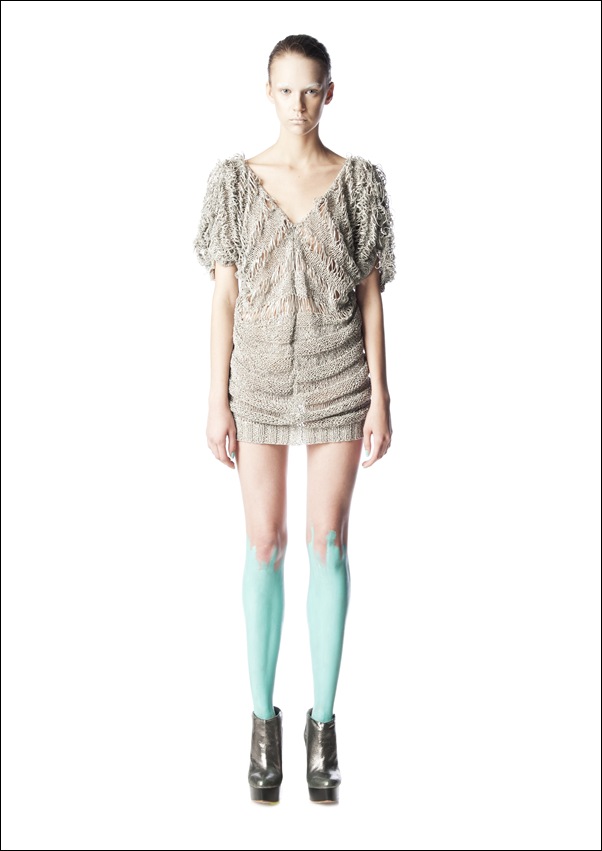
I came across some photos on Pinterest a few days ago and fell in love with the knitting design.
I've lost the original source now so I have no idea who has designed these but I love them so much!


They've given me a lot of inspiration (apart from a knitted bag for your head, I won't be making those). I want to make much bigger items for my shop really but at the minute I'm just concentrating on filling it up so big time consuming patterns are out for the time being. Next year I'm going to have a go at some bigger summer items and keep the inspiration from the pictures above :)

11 Jun 2011

My First Tutorial!

Ok I'm going to put myself out there and have a go at a tutorial.
I have never written out a pattern for anyone other than myself and since I can understand my own gobble-de-gook I'm a bit concerned no-one else will get it...but I'm going to give it a try!
This tutorial is for a knitted flower (starting small!)
Here it is


And an arty shot!
My very bashed in window ledge!


I also noticed just how bent my knitting needles look in the photos! They are very old vintage needles of my nana's. God knows how long she had them before I got them 10 years ago!
So...here is the pattern and some step by step pictures.


What you'll need:
Scraps of DK wool (Worsted weight yarn)
Small crochet hook if you can crochet, or a tapestry needle if you cant :)


Using size 3.25 mm (UK 10/USA 3)
cast on 9 stitches


Row 1: slip 1, k6 turn leaving 2 stitches on right needle
Row 2: p6 turn leaving 1 stitch on right needle
Row 3: k6, turn leaving 2 stitches on right needle
Row 4: p6, turn leaving stitch on right needle
Row 5: k7 turn leaving 1 stitch on right needle
Row 6: p2tog to end - 5sts
Row 7: k1 k2tog pass first stitch over, k2tog - 2sts
Row 8: p2tog - 1st


Use the final stitch to cast on stitches for the next petal and repeat rows 1-8. Keep this up until you have the number of petals needed. (I have 5 on my flower)


Bind off the last stitch sew together by catching a few stitches from the bottom of each petal. Don't worry if there is a hole in the middle as it will be covered by the center piece.


5 Petals done
Center:
Crocheted Mass (no Pattern sorry)
Ok this is the odd bit. I cannot crochet for toffee but I did crochet the center. I kind of made it up as I went along with a small size 9 crochet hook I have.
There are a few ways to get the center though. You can crochet a circle if you can do it. Or you can just sew over a few lengths of yarn in a different colour to cover the hole. I will make a flower this way soon and add the photograph to the bottom so it explains a bit better.


Let me know what you think of my first tutorial (even though it doesn't really finish all that great!. I should probably know if my patterns are easy to follow!


Just to add. 
I had this little person to contend with while I was trying to write that pattern out...so any mistakes... you can blame him :P

10 Jun 2011

How Cool Is This!

The very lovely Suzie from Simply Suzies has featured me on her blog with a lovely collection of my summery items.
Very pleased! Thank you Suzie!!
Here's the link to take a look: Kydel Feature
 
Kydel Makes - Blogger Templates, - by Templates para novo blogger Displayed on lasik Singapore eye clinic.